So when a photograph is taken of a sky, any time, many things happen. You either get a blown out sky and a well lit fore ground or a dark foreground and a well lit sky, dark and colorful. So pictures like these take 2 pictures. HDR's take 3.
This post is about how to blend the 2 pictures together. See this first picture, how the sky is blown out in spots. Those details are lost. Can't be recovered by darkening or burning. And how the foreground is dark in the second picture. If you were to just lighten the picture, the detail would be lost and pixilated.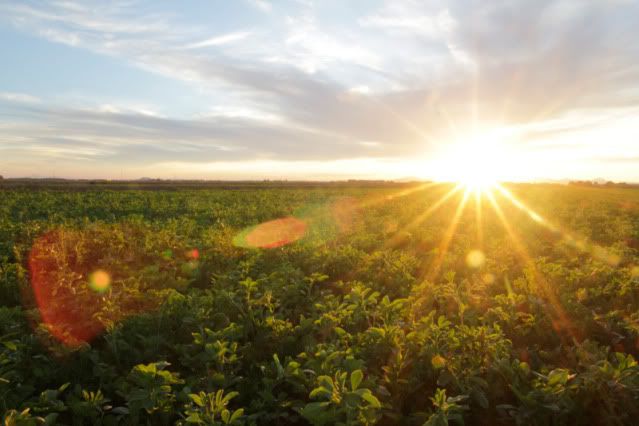
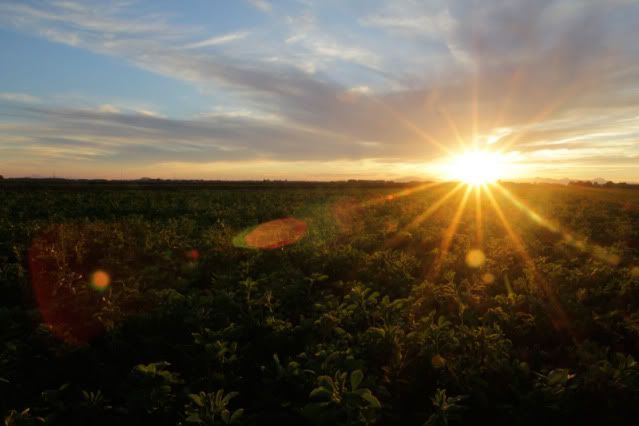 So, drop one picture on top of the other and create a mask. Next to that little fx lower right. there is a box with a circle inside. That is a layer mask. Then hit B for brush and paint away the blown out sky and the dark, colorful, beautiful sky will appear. Yes it is magic.
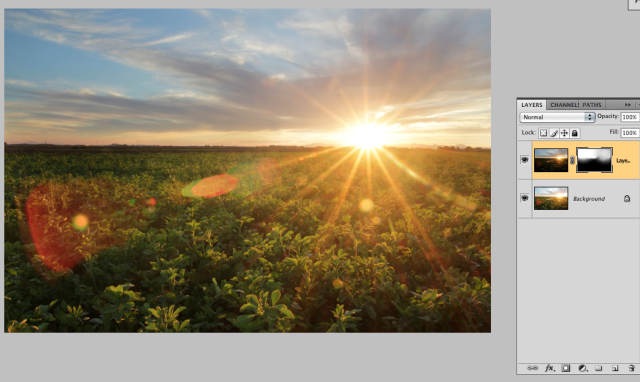 Then flatten the image. On my mac its command-alt-shift-e all at the same time. Then I ran this action called rusty cage. Then I ran an action called selective sharpen, from pioneer woman.
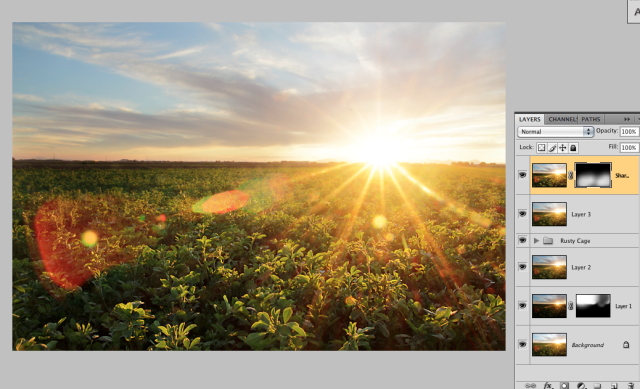
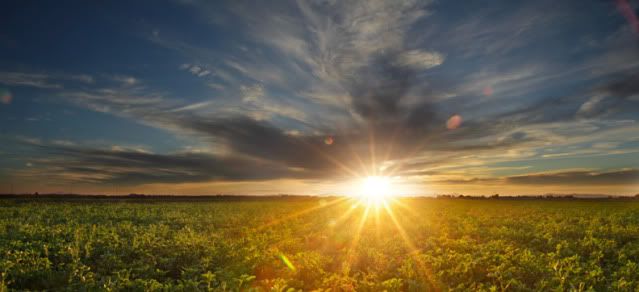
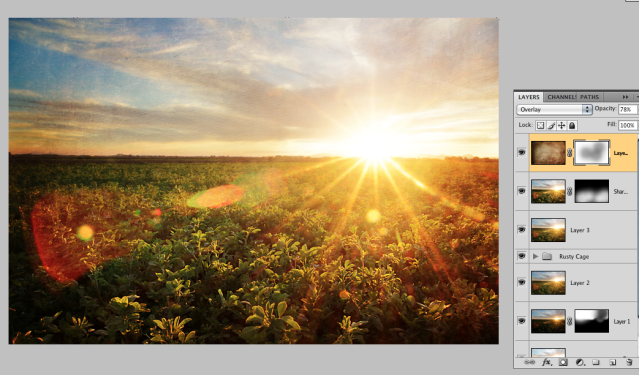 There it is. I redid it for the pictures. And i think I forgot to sharpen the one below. Oops. Still love it to pieces.
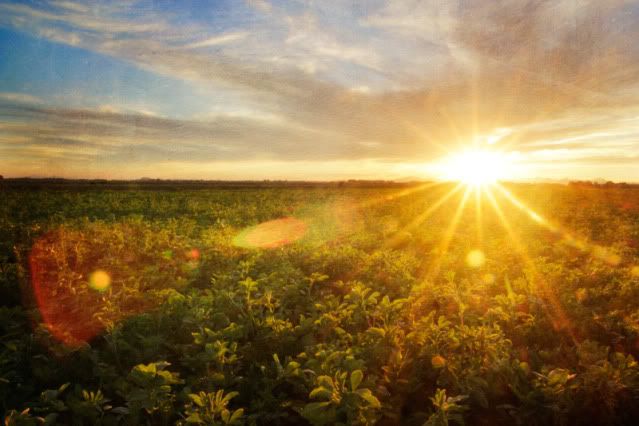 This one is the same process with out the texture.
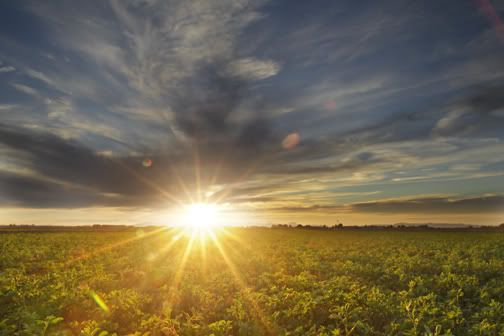 The picture below is 4 in one. So 2 light, 2 dark and masked together. I just ordered a print of this one. 10X20 for the wall. Been waiting for the right day.

 So, drop one picture on top of the other and create a mask. Next to that little fx lower right. there is a box with a circle inside. That is a layer mask. Then hit B for brush and paint away the blown out sky and the dark, colorful, beautiful sky will appear. Yes it is magic.
 Then flatten the image. On my mac its command-alt-shift-e all at the same time. Then I ran this action called rusty cage. Then I ran an action called selective sharpen, from pioneer woman.
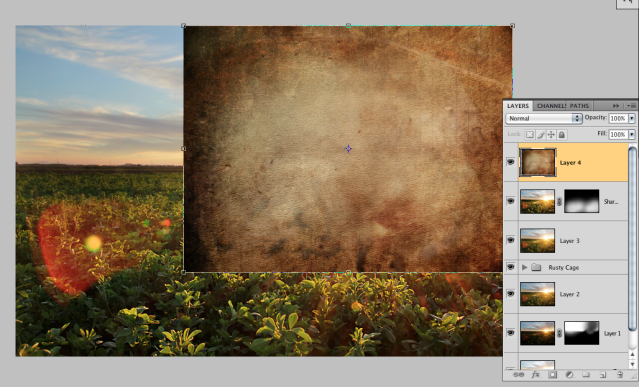
Overlay a texture. This one is kind of grungy. Stretch it to cover the image and then change the layer mode to overlay, (in the picture below it says Layer and below that normal, drop down menu to overlay) change the opacity, add a layer mask to remove it from areas.

 There it is. I redid it for the pictures. And i think I forgot to sharpen the one below. Oops. Still love it to pieces.
  This one is the same process with out the texture.
 The picture below is 4 in one. So 2 light, 2 dark and masked together. I just ordered a print of this one. 10X20 for the wall. Been waiting for the right day.


 Nope it really wasn't his birthday. Didn't show up on the calendar again this year. Maybe next year. Lived 3 years but hasn't had a birthday.